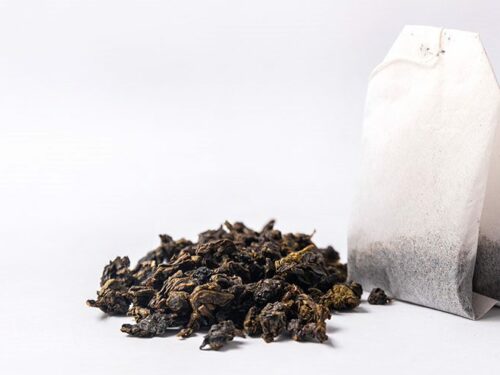
Calling all green and brown thumbs (yes, even those whose skill may not be as evident in the garden) fear not, growing seedlings has never been easier with this tea bag method. Plus, it is a great activity to do with your kids, especially if you have a lot of extra tea bags in your pantry that you want to do something with. If it is a herb garden, veggie patch, or beautiful flowers you are growing, then go ahead and grab your used tea bags and get started. I prefer to use green tea or herbal tea bags due to their low to zero caffeine content, however, because you are using old tea bags, the caffeine content in other teas would be decreased and therefore be deemed safe to use. Depending on how many seeds you wish to plant is dependent on how many tea bags you have. In that case, I suggest you get brewing! Store your used tea bags in an airtight container as you go until you are ready to use them. Now let the fun begin!
Materials and method
Once you have decided what seeds you want to grow (there is absolutely no preference as all seeds will benefit from this method), prepare your materials, and get ready to flex your already established, or newly formed green thumb. What you will need is a plastic container large enough to fit your tea bags inside, unbleached paper towels to line the bottom of the tray, a measuring cup with water, and scissors. If your tea bags are dry from storing them, soak them in some water for a minute to add moisture back into them. Double lay your paper towels onto the bottom of the tray, and lightly spritz with water before laying your tea bags down on their side. Make sure you leave gaps between the tea bags to keep the paper towel moist. With your scissors, snip a hole into the tea bag, ensuring it is big enough to be able to fit your seeds inside, and tuck 1 or 2 seeds (depending on their size) into the tea leaves. You do not need to bury them entirely into the leaves, but make sure they are covered. Lastly, pour your water directly onto the paper towel, avoiding the tops of the tea bags as you want the tea bags to soak the water from the bottom.
What happens next?
You are now left with a tray of seeds ready to begin germinating. To speed up the germinating process, keep your tray in a warm and humid place inside your house, out of direct sunlight, and cover with a plastic film. Always keep the paper towel moist, checking regularly to make sure the paper towel has not dried up. The tea bags need the moisture from the paper towel to be able to germinate. Once you begin to see your seeds sprouting (approximately 3cm in length), remove the plastic film, and gently take out your tea bags and plant them into small pots of soil. Make a hole big enough to bury the tea bag and sprout directly into the soil, cover, and then give it a good water. This is where you need to use biodegradable tea bags that will break down into the soil, providing added nutrients to your seedlings, and repelling unwanted pests. Keep your soil damp during this process while the sprouts turn into seedlings. Keep your small pots in a bright spot out of direct sunlight or use grow lights to promote growth. Once your seedlings have produced their seed leaves (their first set of two leaves), your seedlings have grown big enough to face the outdoor world and you can begin to acclimatise them.
How to acclimatise seedlings
Because our seedlings have been pampered indoors away from any dramatic changing weather conditions, we need to prepare them for the outside world. If you plan to leave your seedlings indoors, then you can skip this step, but if you are ready to toughen your seedlings up for the external world, read on. To help your seedlings adapt to any transplant shock, heat stress, or bitter cold winds, slowly get them used to the outdoor terrain in small intervals per day. Start by placing your seedlings outdoors under partial sun for 2 hours, before returning them indoors. Increase this by one hour each day, and by Day 4 move them into full sun. Continue adding an hour each day until you leave them out for a full 8 hours. By Day 8, leave your seedlings out all day and night which should complete the end of your training. From then on, you are now ready to transplant your seedlings outdoors to their final resting place in your garden.
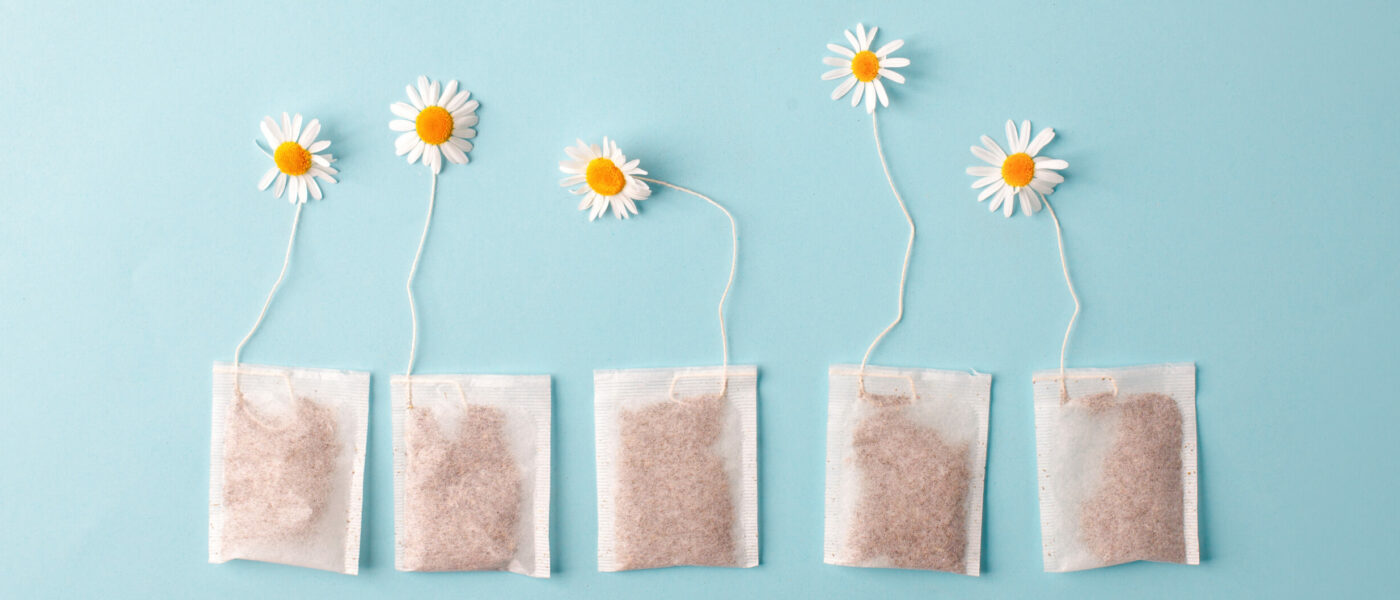
Why tea bags?
A question you may be asking is, why use tea bags to germinate seeds? The simple answer is because tea bags provide organic matter for plant food, and make a good garden bed for seedlings to grow. Tea bags are sterilised as they have been previously doused in boiling water which means they are free from any bacteria or living microorganisms that may be harmful to the growth of your seedlings. Instead of throwing your old tea bags away, you can feel good about re-using them for a purpose that benefits the environment, instead of them decomposing away at the landfill. Another interesting fact about using tea bags to germinate seeds is that the tea extract may actually speed up the germination process. The nutrients in tea fare very well to our budding seeds, providing them with the added nutrition to sprout in a timelier manner. If you are looking for a more concentrated tea mix, you could try brewing some tea and letting it cool from your old tea bags (fresh tea may be too potent, so best to use a weakened tea brew to not overwhelm your seedlings). This can be used to dampen your paper towel in the germinating process, and then proceed to use to fertilise your seedlings in the later stages. If doing this method, remember to use a low to zero caffeine content tea and check what seedlings will benefit by a tea fertiliser.