I have been a sucker for caramel since I was a child. My go to dessert would be anything that contained any hint of the word caramel. It comes as no surprise really, that I would meddle in the world of making caramel sauce. Yet after many, many attempts of glorious failing in constructing a sauce that is both smooth and gooey, it is safe to say that caramel did not hold top spot on my favourites list anymore.
It is a recipe that calls for a minute amount of ingredients, and you ask yourself how much could go wrong? Let me answer that question for you with two little words, A LOT! I have spent many hours in my kitchen throwing a tantrum and pouring (sometimes peeling, scraping, re-melting) the caramel off the pan and into the bin. It has not been pretty, but I can proudly say that I now know how to make caramel sauce (without the tantrums).
So, sharing with you all are my tips and tricks on how to avoid the screaming and tears, and to put up a caramel sauce that rises straight back to the top of your favourites list.
Tips and Tricks
● Ensure your pan is solid with high edges- Sturdy pans ensure the pot is firmly in place so caramel is cooked evenly. High edges help to contain the caramel to prevent overflowing.
● Leave your cream and butter at room temperature- Too cold of ingredients can cause a large temperature shift from the sizzling heat of caramel, resulting in split or lumpy caramel. Depending on your room temperature, I sometimes gently heat my cream, so it is warm before adding.
● Keep watch on your cooking temperature at ALL times- Your caramel can quickly go from riches to ruins in seconds, so please watch your pan and if you notice the sugar heating too quickly, turn the heat down.
● Make sure all your sugar is dissolved before adding butter and cream- Any sugar that is undissolved can cause your entire caramel to crystallise and ruin the whole batch. Even one granule of sugar left undissolved can wreak havoc.
● Wet pastry brush on standby to wipe over any crystallised sugar on the side of pan- I have never had to use this technique, but just in case you have sugar that is stuck to the sides of your pan, it will come in handy to dissolve the granules, and not disturb your caramel.
● Keep two spatulas with long handles on hand- I like to use two spatulas in the process of making my caramel. The first one is to dissolve the sugar, then the second is for the butter and cream process. This is to minimise the risk of any sugar granules that may be stuck to the first spatula and compromising your caramel. The long handle is to give yourself enough space from the heat, as when the caramel bubbles, it can get quite hot and you do not want your hand being so close!
● If your sauce splits when adding the butter, take the pan off the heat and vigorously mix until it is combined- The butter will eventually combine with the sugar after mixing off heat, even if it takes a few minutes of muscle work. Once combined, return to heat.
● Use warm cream to help smooth your caramel- If your caramel is lumpy or too thick after cooking, you can warm some cream and mix it into your sauce to smooth and thin it out.
● For caramel that has crystallised, simply reheat- Gently reheat the caramel sauce in the microwave or on stove top which will re-melt the sugar and making it smooth.
● Monitor your salt- Adding too much salt can cause a very salty caramel, and there is NO coming back from that. I prefer to add a small amount, to give the caramel a bit of body. If wanting more, make sure you taste first to gauge how much more you need.
● If you are new to making caramel, start off small- Make small batches of caramel first to become familiar with the process, then increase to larger quantities.
—————————————————————————————————————————————————————————————————————————————-
Ingredients
1 cup Brown Sugar
1.5 tablespoon Unsalted Butter (21g)
1 cup Cream
½ teaspoon Salt
What I Need
Saucepan
2 Spatulas
Pastry Brush
Storage Jar
Method
1. Heat saucepan on medium/ high heat and pour in sugar in small batches. When you see the sugar begin to dissolve, move your sugar around with your spatula to ensure it does not burn. The sugar will clump together but will dissipate with the heat. Repeat until all sugar is melted and turn your heat to low/ medium. Make sure there is no sugar stuck to the side of the pan. Stir until all sugar has dissolved.
(When using brown sugar, it does not change colour like white granulated sugar, as it contains molasses which already give it its colour. Instead, wait until all sugar has dissolved and you will notice some slightly darker amber streaks through the caramel which is when it is ready for the next step. Do not let sugar turn dark as this indicates it is burnt. Brown sugar does take longer to melt down compared to white sugar, which means you need to be more patient, but also means less risk of burning).
2. Once sugar has melted to a smooth consistency, this is where you add the butter one part at a time. Stir vigorously until butter is combined. If butter does not combine with the sugar, take off heat and mix until combined. Return to heat.
(Make sure sugar and butter are hot before adding the cream, as if they cool down, the sugar will harden as soon as the cream is added).
3. Add cream in parts and mix in. Once all cream is added, stop stirring, turn heat to low, and leave to bubble for 1 minute. After the minute has lapsed, proceed to turn off heat and stir in salt to taste.
(Caramel may bubble when cream is added if the change in temperature is too great. Just be aware and do not put your face too close to the pan to avoid the splatter!)
4. Allow caramel to cool slightly before transferring it to a jar or storage of your choice. Cover tightly to maintain freshness.
—————————————————————————————————————————————————————————————————————————————-
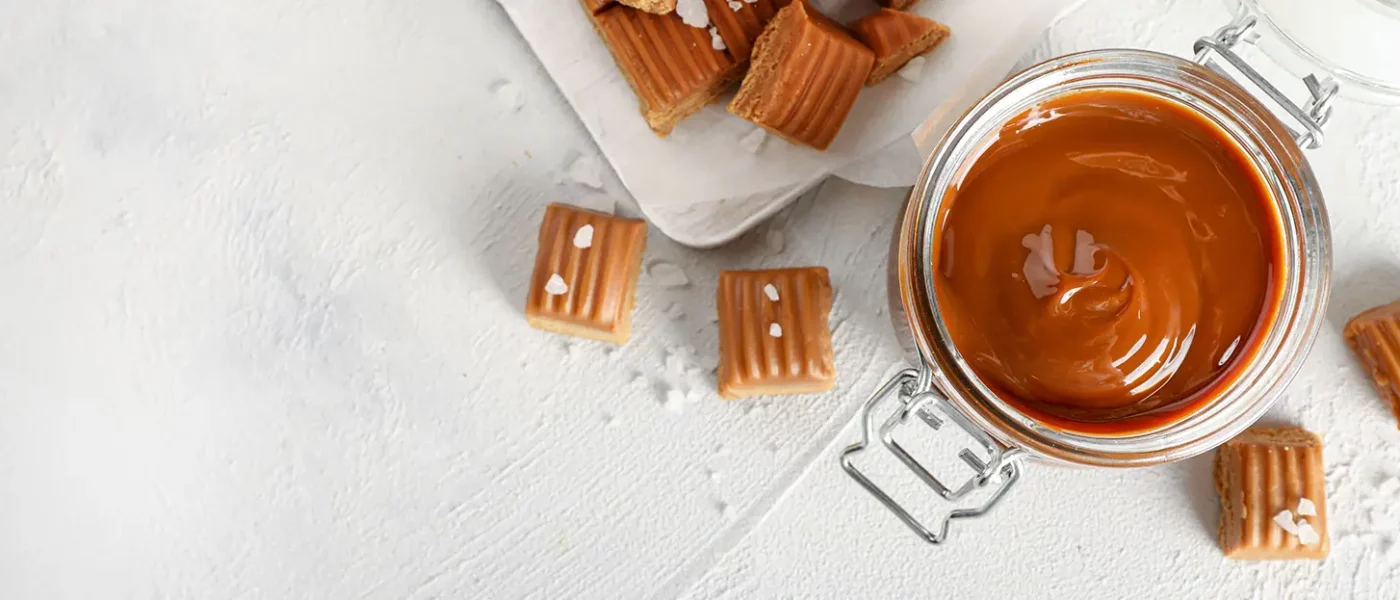
Personally, I love the consistency of this caramel sauce as it is runny, but still viscous. Once refrigerated, the caramel thickens even more and tastes so good layered between two biscuits.
For my caramel loving confidants, please give this recipe a try- you will be amazed at how good you are at making caramel sauce, and how easy it actually is (once you get the hang of it!)
*Caramel can last up to one month in the refrigerator, and three months in the freezer.
**Take note that caramel thickens once cool. If wanting to reheat, ensure you have your caramel placed in a microwave safe storage, you can then microwave for 20-30 seconds, or return caramel back to the stove top on low heat and heat until you have your desired consistency.
***For those who like a thicker caramel, use less cream in the recipe, as the cream is what helps to thin out the caramel sauce.
****If wanting to make an extra-large quantity, make in separate batches, as any bigger than the required amounts will cause the sugar to cook unevenly.


